air switch button garbage disposal

Garbage Disposal Air Switch Button for Sink Control

  • Garbage disposal air switch accessory for countertop or sink-area control setups
  • Suitable for compatible food waste disposer and garbage disposal product programs
  • Useful when buyers need a separate switch option instead of only wall-switch control
  • Can be reviewed as part of accessory packing, private-label kits, or replacement accessory supply
  • OEM / ODM support available for accessory packing and destination-market documentation

Available Colors

Products Categories
Get A Free Quote
Request a Quote

Air Switch Button for Garbage Disposal Control Setups

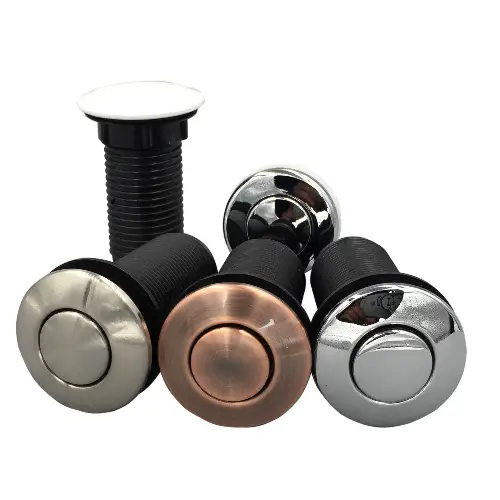
A garbage disposal air switch button is the visible push-button part used in a sink-area or countertop control setup. It should be treated as an accessory component, not as the disposer body and not always as a complete air switch kit. For product pages, the useful buyer angle is compatibility, packing method, finish confirmation, and whether the order needs the button only or a complete air switch set.

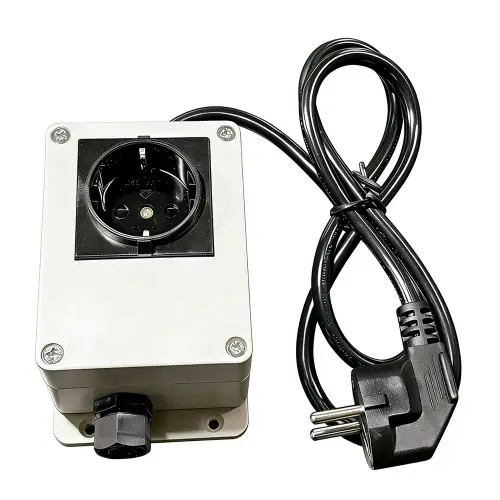
For importers, distributors, and OEM buyers, the button detail matters because accessory orders often fail at small configuration points: button finish, countertop hole requirement, tube connection, matching control module, carton contents, and instruction sheet wording. If the buyer is replacing only the visible button, the specification check is different from ordering a full air switch for garbage disposal control.

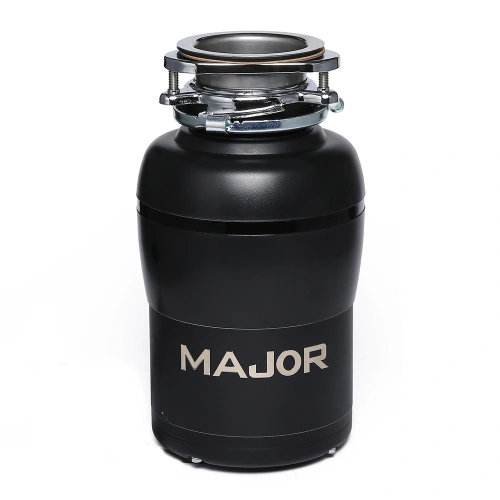
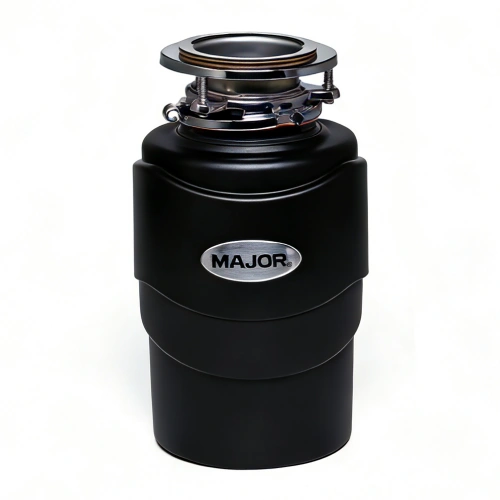
For compatible disposer products, review these related model groups: 1 HP garbage disposal models, BLDC auto-reverse garbage disposal models, and AC motor garbage disposal models.

3-Bolt Mount Garbage Disposal Installation Checks for AC Disposer Lines

The following is a short 3-Bolt Mount garbage disposal installation check for Z200. It is not a full installation manual. Electrical connection should be handled by a qualified electrician, and the final mounting kit should match the confirmed order configuration.

  1. Confirm the 3-bolt sink flange, gasket, mounting hardware, stopper, splash guard, and discharge elbow before installation.
  2. Seat the sink flange securely with the correct gasket or putty method for the sink material.
  3. Prepare the dishwasher connection if required by opening the knockout plug and matching the hose, clamp, or adapter.
  4. Attach the discharge elbow with its gasket and align it with the outlet pipe before tightening the plumbing connection.
  5. Lock the disposer body onto the 3-bolt mount assembly and check that the connection is even and secure.
  6. After electrical work is verified, run water and inspect the sink flange, dishwasher connection, and discharge elbow areas for leaks.

Related Accessories

Scroll to Top

Get A Free Quote Now !

Request a Quote
Partner with Major Disposal. We offer competitive factory-direct pricing and dedicated support for your large-scale projects.
about us